
Shooting
Open HipReceiving a PassProper Wing
Exciting news: this tutorial is now on our app, app.speedu.ca - members already have full access. From January 1, 2027 it's only on the app. Open it in the app >
Checking your membership…
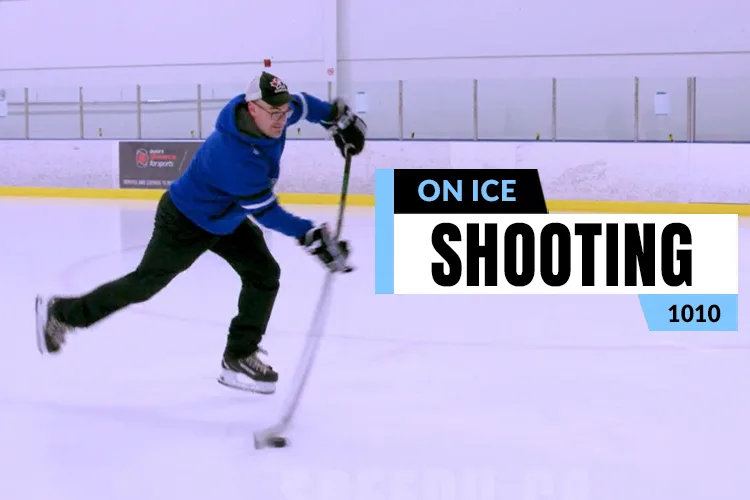
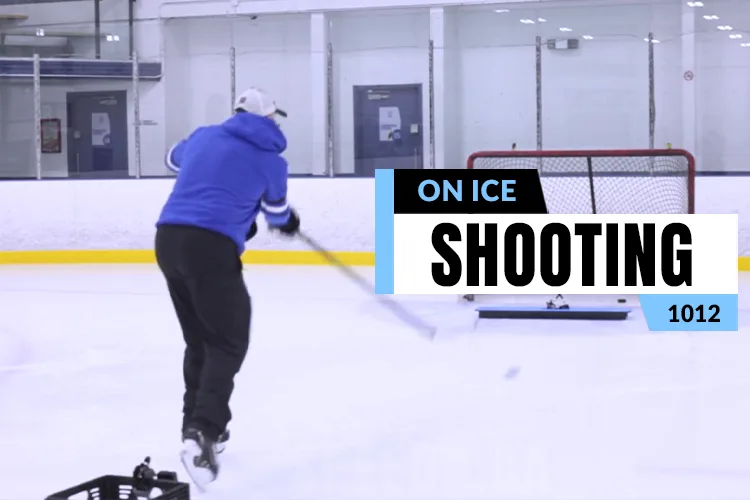
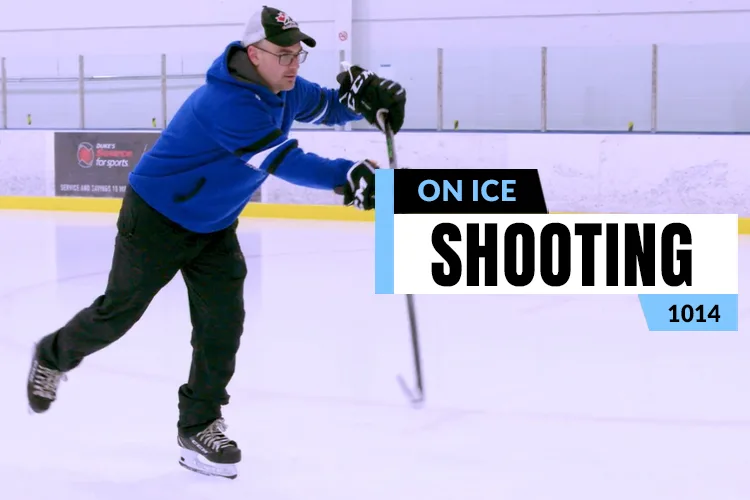
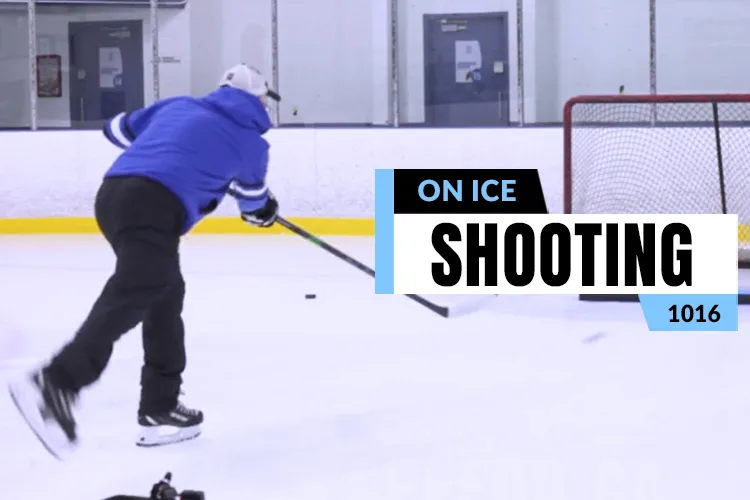
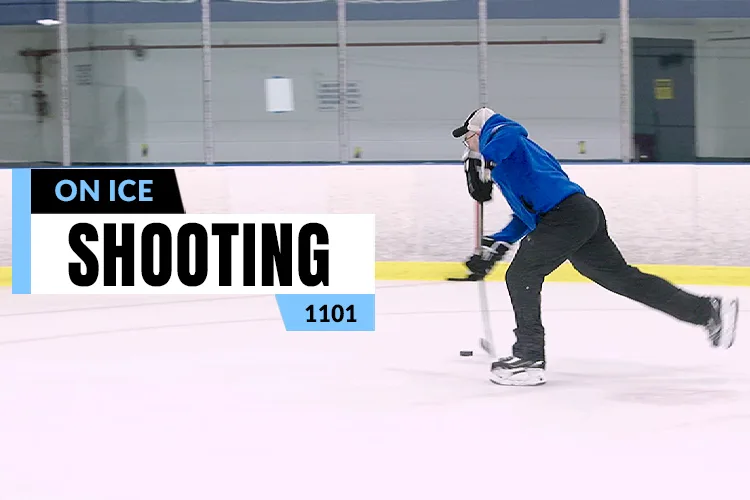
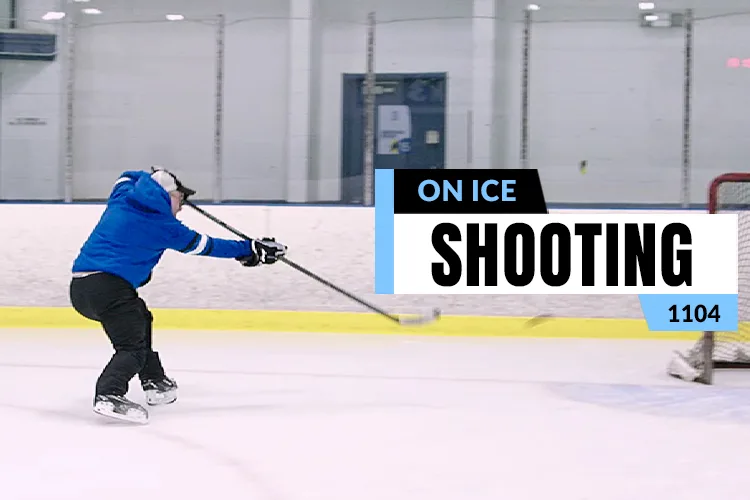
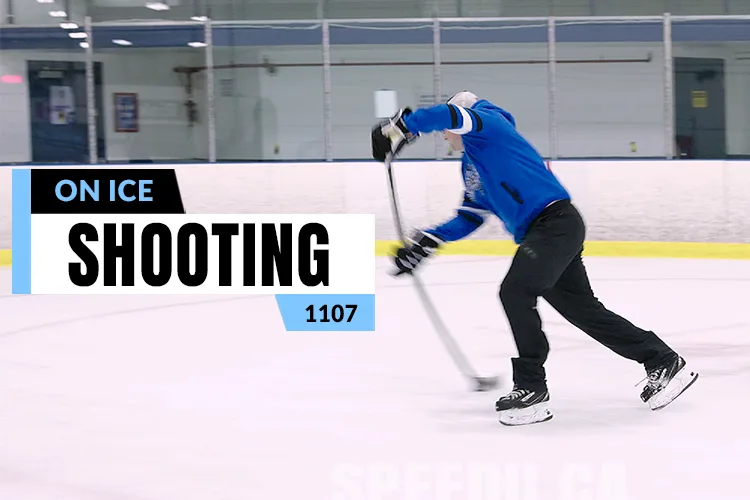
There are 3 main different types of releases when shooting after receiving a pass: The Catch and Shoot, The 2 Touch, and the 1 Touch (or 1 Timer). With the Catch and Shoot, there is a cradling of the puck, and it makes constant contact with the stick as you are gliding on the open hip foot. This type of release is commonly used when you have some time and space, and you choose to take an extra second to make sure you are accurate with the shot. It is also used when it is smart to hold the puck for a bit before you shoot, allowing you to get even closer to the net, or into a better position to shoot. With the 2 Touch Release, the puck often either bounces off your stick, or comes in your feet or to your backhand. With this release, the first touch stops the puck, or controls the pass, and then on the next touch of the stick, you are shooting the puck. This release is often quick and deceptive as goalies are expecting some stickhandling to gain control before shooting. You can think of the 2 Touch as setting your own self up for a 1 timer. With the 1 Timer, you make immediate contact with the puck without controlling it at all. 1 Timers are most often used when you have no time at all, or when the goalie is slow getting across but you don't have much time to take advantage of the open net. In these situations, accuracy is less important than just getting it on net before the goalie can react. Specific to the "Open Hip Shot," remember to point your front leg toe to the net or to the side (Rightys to the left, Leftys to the right) for this type of release.
NHL example
Drills that use this
Filed under
- Shooting